1. Upload Your Files
You can be assured that your files are safely uploaded over an encrypted connection. The files will be permanently deleted after processing.
- To upload your files from your computer, click “Upload PDF File” and select the files that you wanted to crop. Or you can just drag and drop files to the page, whichever works best for you.
- You can also upload files from Dropbox, Google Drive or from a website where your files are located. All you need to do is expand the drop-down and select your files.
- You can upload 1 file at a time for free accounts, while Upgraded Accounts are entitled to batch processing and can upload as many as 10 files.
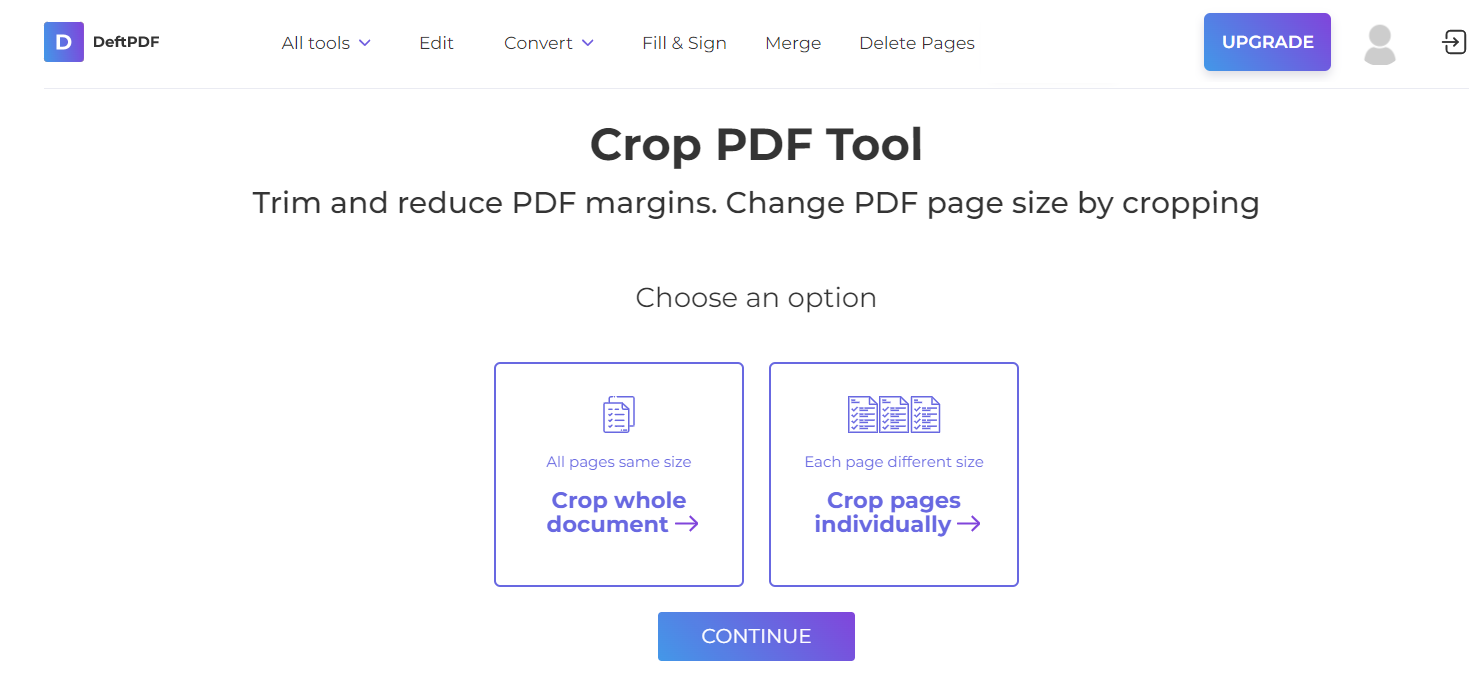
2. Select Your Option
You will have 2 options for cropping the document. You can crop the whole document all at once with the same measurements or crop specific pages individually.

a. Crop the Whole Document
- This will give you the option to crop all pages at once. All pages will be cropped out according to the margins and crop area you set on the first page.
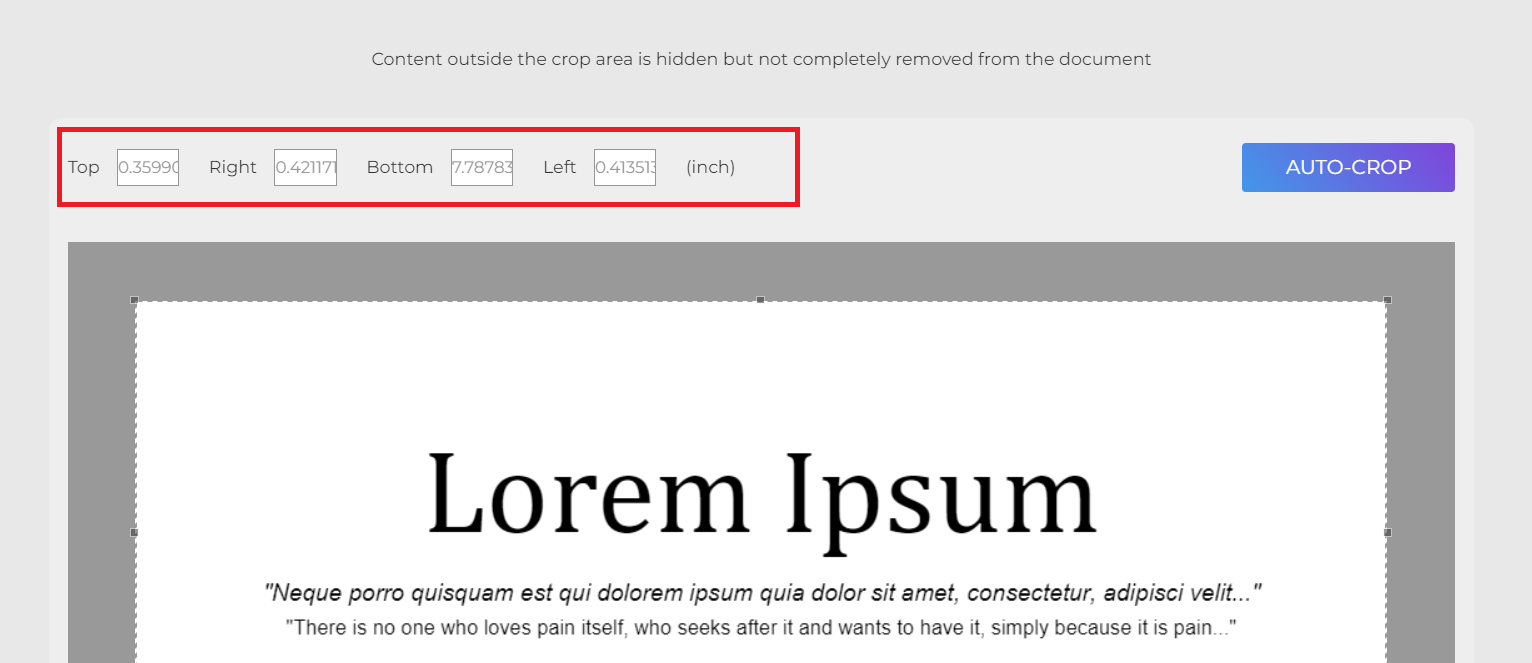
- On the thumbnail preview, click and drag using your cursor to set the area to crop. You can also indicate margin measurements on the textbox
- If you want to see the default cropped area, just click “Auto-Crop.”
b. Crop Pages Individually
- If you’re only planning to crop specific pages or if you want to crop each page differently, choose this option after uploading the document.
- Click and drag across the PDF page to crop the selected area or indicate margin measurements on the textbox per page.
Crop Using Margin Values
You can also crop the pages using the margin measurements. Just enter the values in inches for top, bottom, left and right area.

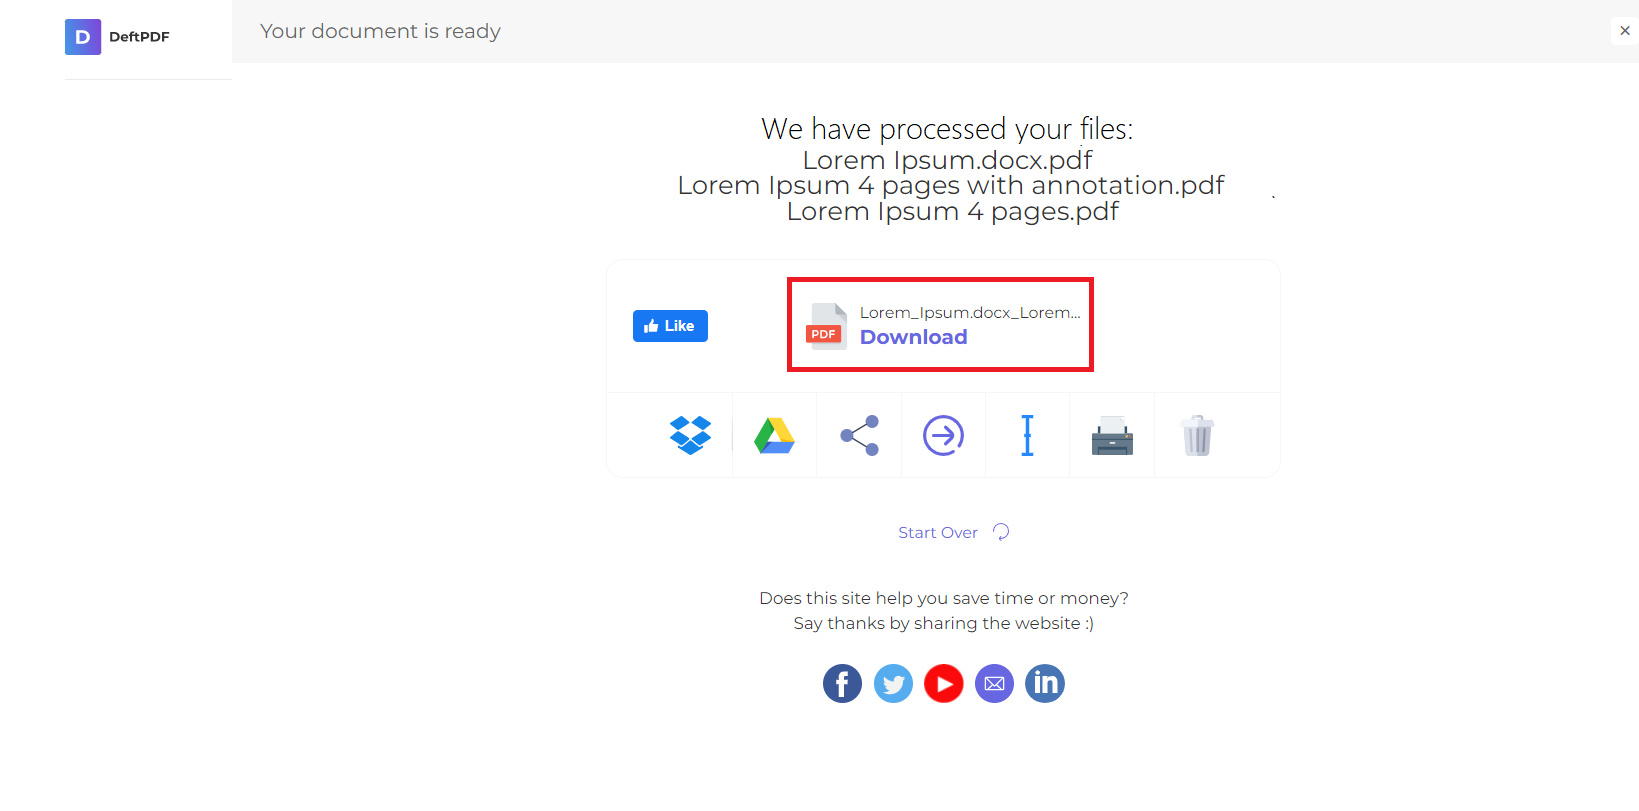
3. Download Your Work
To process the document, click “Crop PDF” then click “Download” to save it on your computer. You may also save it in your online storage such as Dropbox or Google Drive, share it via email, print the new document, rename or even continue editing with a new task.


