Each time a user opens the PDF document, the password will be required to access and open it once it is encrypted.
1. Upload Your Files
You can be assured that your files are safely uploaded over an encrypted connection. The files will permanently be deleted after processing.
- To upload your files from your computer, click “Upload PDF File” and select the files you want to encrypt or drag and drop the files to the page.
- To upload files from Dropbox, Google Drive or from a website where your files are located, expand the drop-down list and select your files.
- You can upload 1 document at a time for free accounts, while Upgraded Accounts can batch process and upload as many as 20 files.
2. Open Password and Owner Password
An open password is a password required when a document is accessed/viewed/opened. To add an open password, create a strong password and input it in the Password textbox. A 16-character password (or more) with numbers and symbols is highly recommended.
An owner password is a password required to readers when they try to make changes on the document. You can add this protection by clicking more options then fill a different password under Require a password to change permissions.
3. Create Optional PDF Restrictions
You may also add restrictions to the use of your document. Each feature and function can be limited by ticking the boxes on More Options.
For example: you can disable filling up forms, commenting on the document and modifying it by ticking the box in the selection.
You can also restrict printing, copying text, rotating pages, deleting pages or inserting pages.
4. Download
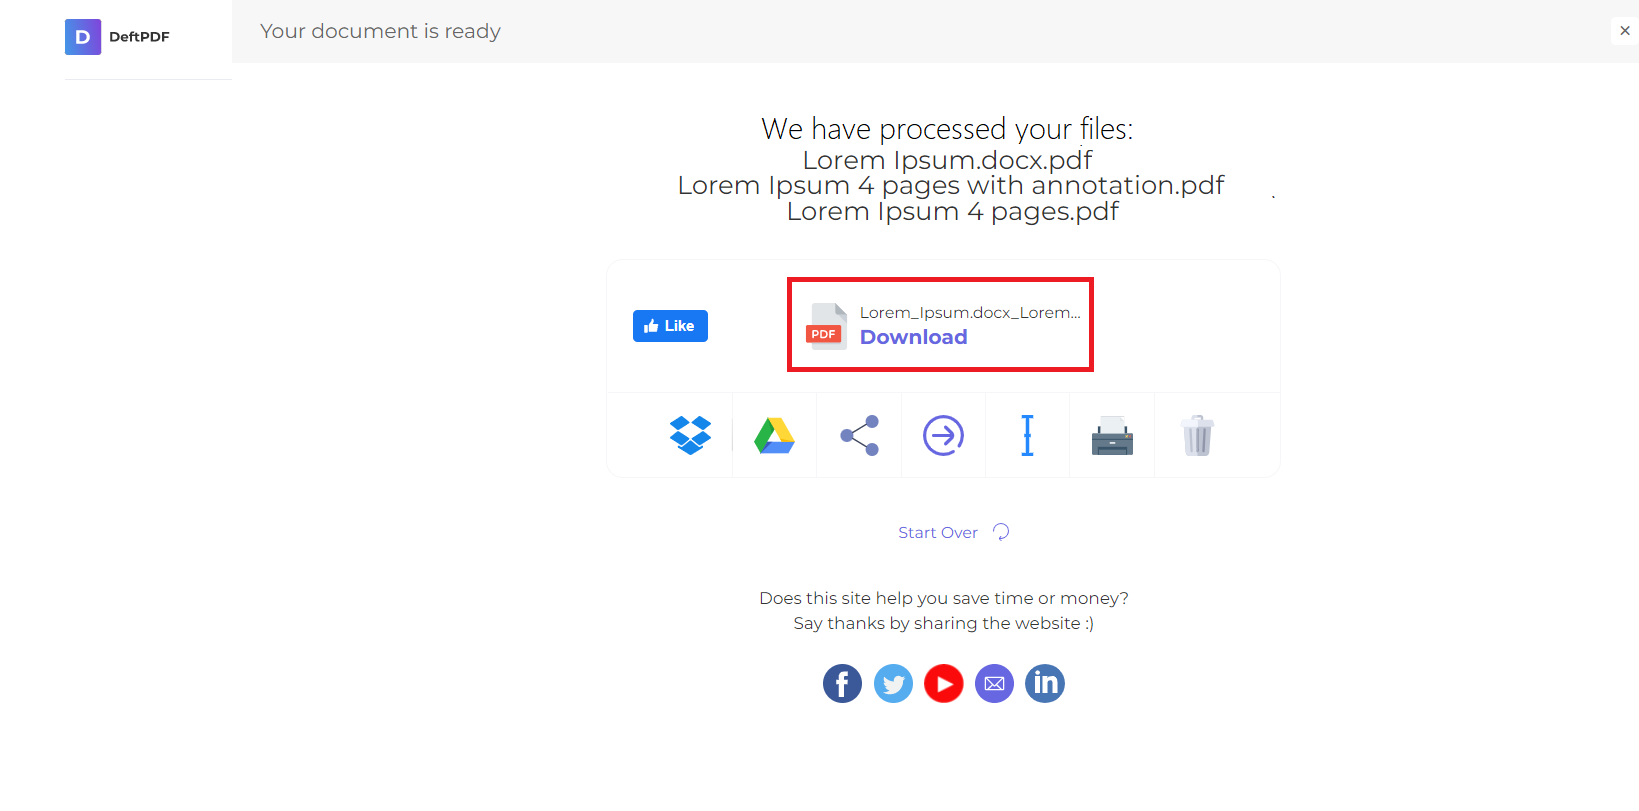
After creating your password and modifying your restrictions, click “Encrypt PDF.” Then click “Download” after processing to save it on your computer. You may also save it in your online storage such as Dropbox or Google Drive, share it via email, print the new document, rename or even continue editing with a new task.


